


Stamp assembly
Assembling the new stamps
Well, your new stamps have arrived and you are saying to yourself, “What, I have to assemble these, myself?” Well yes… But while doing so think “Wow, no more fines for dirty stamp handles!” and even better “I don’t have to rush to the post office to return a stamp on time!” The benefits far out weigh this minor effort.
If you are new to Volksporting and IVV stamps, then you will not understand how awful the old stamps were to use and to manage. Ask a long time Volksporter to get an idea. The major improvement was the addition of text that tells you where the event was held. In the past there was nothing but meaningless numbers.
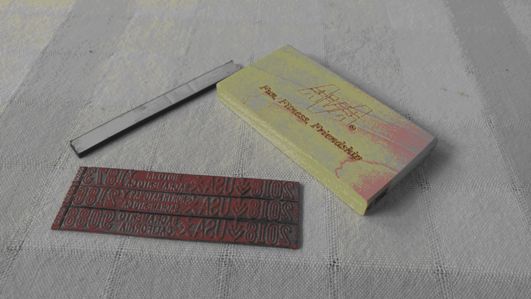
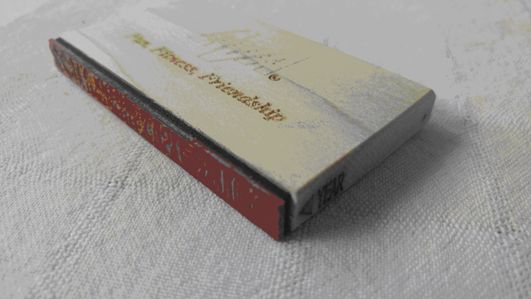
The stamps are easy to assemble, and we have supplied extra adhesive pads in case you mess up the first few and want to redo them. The two pictures below show first the kit needed for a stamp, and the second is the assembled stamp.
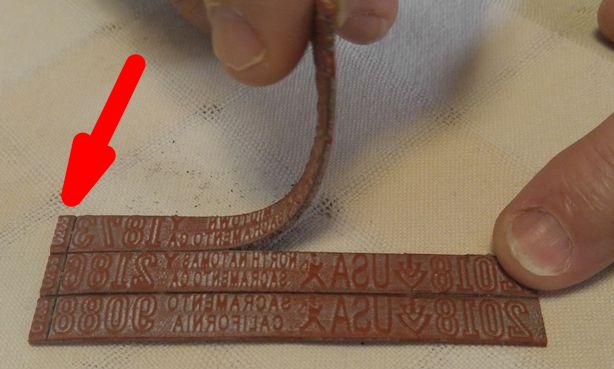
Step 1: Separate the stamps from the sheet into individual stamps. Simply tear the stamps apart along the laser cut line. There are places where the rubber is not cut to help keep your clubs stamps together as a group. Each stamp has a control tab (arrow) that contains the club identifier (club AVA-0338 is shown as 0338 on this tab). Remove this tab.
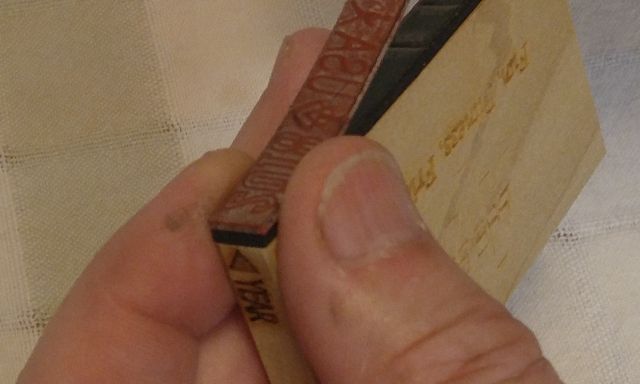
Step 2: Apply the adhesive tape to the wood block. Remove the TAN paper backing from the tape. Leave the white paper on the tape. Hold the block with two fingers near the end where the word ‘YEAR’ is on the side of the block. Your fingers will be over the edge to act as a guide for the tape.
Step 3: Hold the side edge of the tape with two fingers. Line up the end of the tape to the end of the block between the fingers holding the wood block. Press down, using the fingers holding the tape as a guide to center the tape on the block. Apply pressure to the tape (white paper) to help it stick.

Step 4: Remove the white paper from the adhesive tape. A fingernail can catch it and peel it off.
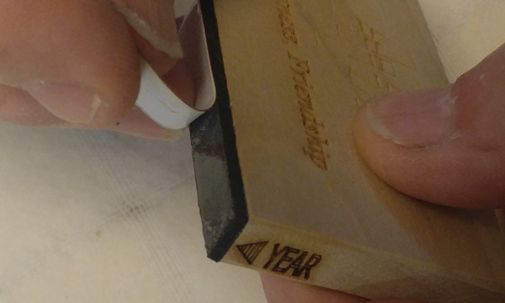
Step 5: Using the same technique for applying the tape, apply the rubber stamp over the tape. IMPORTANT: Make sure that the year ‘2024’ is next to the word ‘YEAR’ (arrow) on the wood block. You have additional adhesive strips in case you get this wrong.
You may label the stamp any way you wish but remember that handles are reused, so a permanent label may not be the best. The standard has the event label facing the person as the stamp is applied. The AVA logo is on the back.
Check that the ‘YEAR’ on the stamp side is to the left as the stamp is applied. Hopefully we will no longer have upside down stamps in our books.